Random fun fact, it’s been exactly 2 years since I posted anything! Why do I pay for this domain?
Another random fun fact! This project used some of my leftover yarn from my 2024 blanket! Namely the 100s, 70s, and 50’s colors. This looks nice; too bad the rest of the blanket doesn’t.
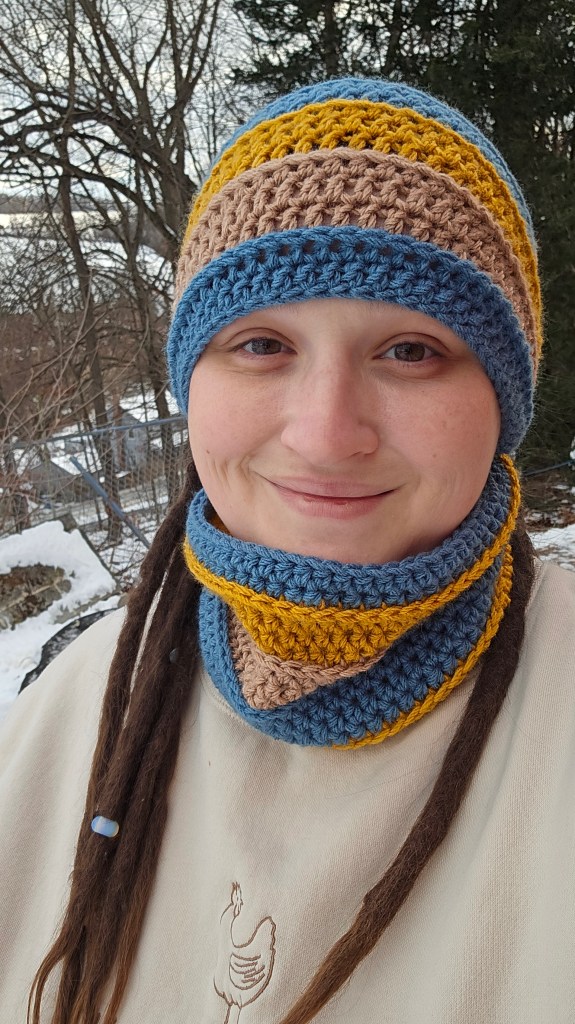
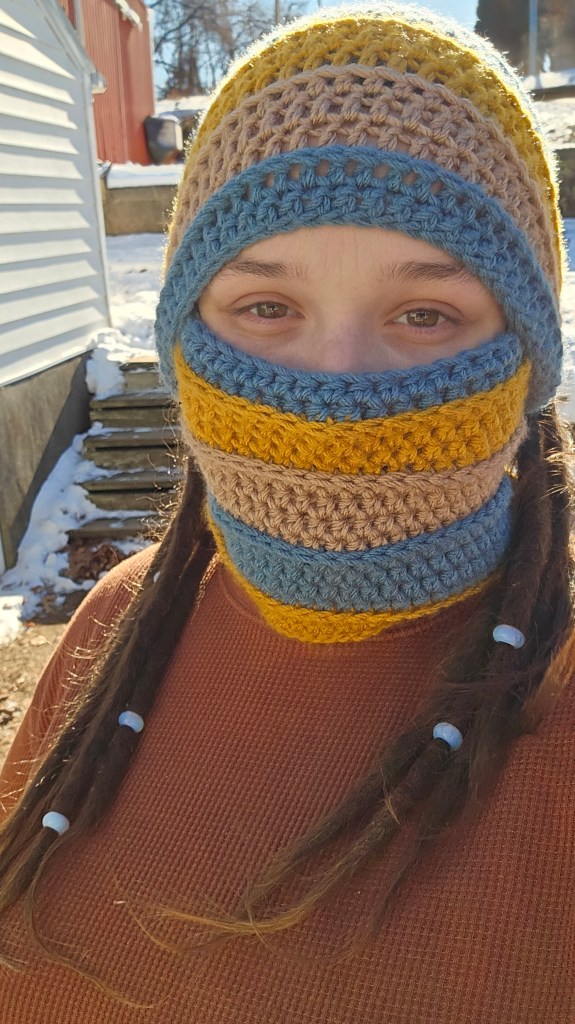
Anyways, I clearly haven’t the foggiest idea what to call this thing. I’m sure there’s a technical name for it. Is this a balaclava? I whipped this up yesterday in light of the arctic chill that’s ransacked the area with it’s frigid wind. Well TAKE THIS, POLAR VORTEX!
I don’t have a lot of pictures for the actual tutorial yet, only text. I made this on a whim yesterday and, at the request of a few others, I decided to put the rough pattern up. Perhaps I’ll try to make a YouTube video tutorial, too. If not, maybe at least pictures. I wanted to make another for a homeless person I know, anyhow.
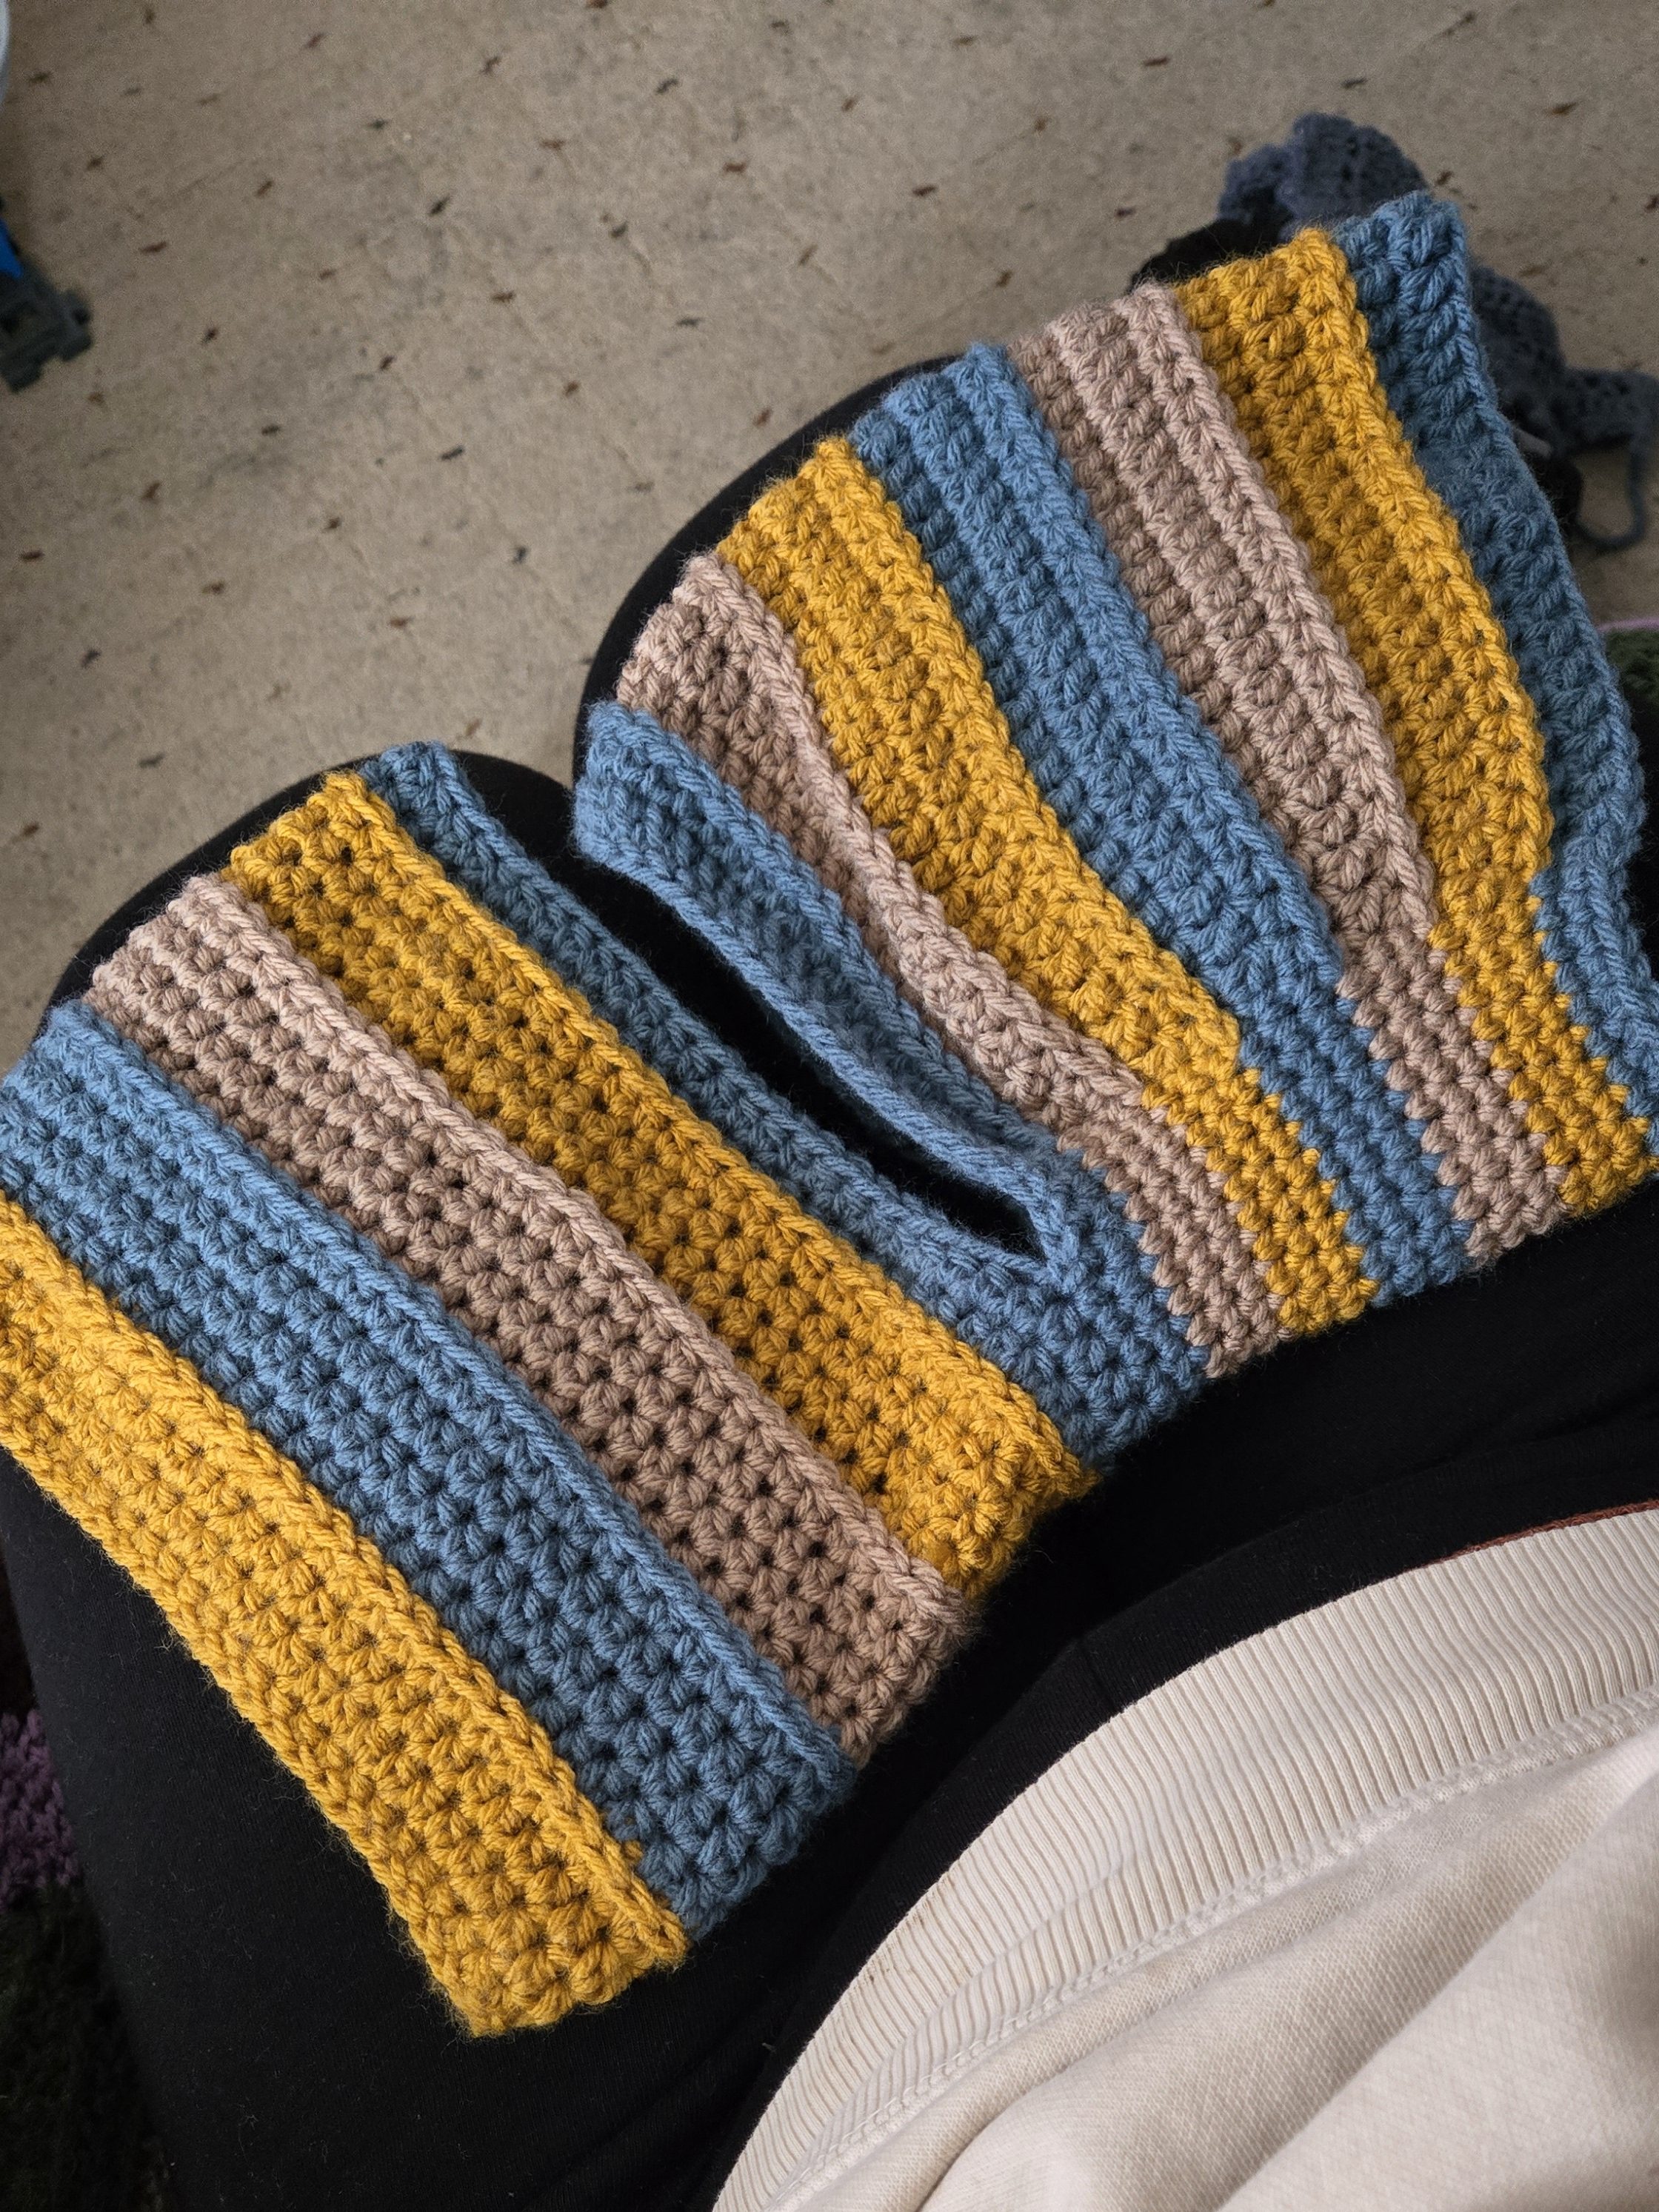
This pattern uses worsted weight yarn (I chose 3 colors, use as many as you feel like), and an I hook (5.5mm). Do not turn your work. I find that using a starting chain makes this pattern kind of tight (chain on the looser side to start if you do), so make sure after you’ve done a row or two that you can get it over your head. Add more stitches if necessary, but the most effective way to maintain stretch is to use a foundation stitch, which is what I personally do. It retains a lot more elasticity that way. I have a few ideas for helping with elasticity for starting chains but that’s a post for a different day after I’ve done some excessive experimenting. For now, onto the pattern! It’s worked from the neck up.
(Neckband)
ch 60, slip stitch to the 1st chain to form a ring
R1 ch 1 (does not count as 1st st), hdc 60x’s, join to the 1st hdc
*Alternately for R1, you can make 60 foundation hdc’s and join to the top of the 1st one. Use the tail to tie the bottom together and close the gap. This will be the stretchier option.
R2-4 ch1, hdc 60x’s, join to 1st hdc (60st)
change color
R5 ch1, hdc 60x’s in bottom loops, join to 1st hdc (60st)
R6-8 ch1, hdc 60x’s, join to 1st hdc (60st)
change color, repeat [R5-8] 2 more times, changing color after every set
R17 ch1, hdc 60x’s in bottom loops, join to 1st hdc (60st)
R18 ch1, hdc 60x’s, join to 1st hdc (60st)
(Continuing onto semi-attached headband)
R19 ch1, sc 10x’s, foundation double crochet 40x’s, skip 40 stitches (easier to count back 10 stitches from the end of the work), sc 10x’s, join to 1st sc (60st)
*If you are unfamiliar with making foundation double crochets, simply ch40 instead and do R20 twice.
R20 ch1, sc10x’s, dc 40x’s, sc 10x’s, join to 1st sc (60st)
R21 ch1, sc10x’s, hdc 40x’s, sc 10x’s, join to 1st sc (60st)
change color
R22 ch1, sc 10x’s, dc in bottom loops 40x’s, sc 10x’s, join to 1st sc(60st)
R23 ch1, sk 1, sc 10x’s, dc 40x’s, sc 10x’s, join to 1st sc (60st)
*Why skip 1 here? Without turning the work, the start of each row will slowly move to the right (if you’re right handed. Left if you’re left handed). Because I think this project looks better with all the stitches facing forward, I opt to throw in this random row where I shift my stitches over one. Just something I do out of preference in case you were wondering. But this means one of your sc will be in a dc and one of your dc will be in a sc, and your last stitch will go in the 1st stitch you skipped.
R24 ch1, sc 10x’s, hdc 40x’s, sc 10x’s, join to 1st sc (60st)
change color, repeat [R22-24] 4 more times, changing color between each set
Feel free to repeat this more or less than 4 times depending on your preference for length. Change color before moving to R37
R37 ch1, sc 10x’s, dc in bottom loops 40x’s, sc 10x’s, join to 1st sc(60st)
R38 ch1, sc 10x’s, dc40x’s, sc 10x’s, join to 1st sc (60st)
Cut & Tie

*Optional, you can attach 1/2-3/4 inch buttons on the sides of the bottom of the headband portion (this would be R19/20 area) to secure the neckband to the headband for better face coverage, and that may be nice if you plan to do more rigorous activities, but I have found that simply tucking the neckband portion into the headband thoroughly is enough to keep it in place for the light/moderate tasks I do, like shoveling snow, fetching eggs, carrying water, poop scoopin’, chasing a rogue sheep or chicken, etc. I had sewn these buttons on and promptly deemed them unnecessary for me and removed them. I’ll use the buttons for something else. These are 3/4 inch buttons and the hdc stitches from the neckband fit through without issue.
And that’s about it! It took me a few hours to make, but made fetching chicken eggs in 1 degree wind chill much more tolerable! I was originally just wearing two headbands: one around my neck and the other around my head. So I figured why not just make a double band so I don’t have to keep digging out two and I can grab just one item!
Feel free to comment any questions or email me at pam@forgoodnesskeepsakes.com if you want to send me a picture or help you troubleshoot! You can also stalk me down on social media to ask questions too! Have a blessed day!
